Creating a Garden Art Space
Part 2: The External Build
In Part 1 of this blog "Creating a Garden art Studio" I concentrated on some of the big decisions required to help you make up your mind to go ahead. Thank you to the many who read the first part and to those who gave me such positive feedback.If you want to read Part 1 use this link
https://www.kathleentaylorartandgifts.com/creating-a-garden-art-studio-part-1-making-the-decision-to-go-ahead
Decisions are, however, required continuously at every stage and work best if there is continuous and open discussion with all the parties. Not always easy especially if you have no experience of building requirements like myself but a modicum of common sense usually helps you through or a helpful other half ( always something my husband excels at-making me understand what is needed). Creating the external build can be fairly straightforward if the studio is ready built and just needs to be erected but a bit more complex if it is bespoke.
It is really important to have a list of key Artist's needs to keep in mind throughout. You will be the main user and your needs have to be worked on.
Key needs for most artists include:
1.Light. When do you want to use your space? When is the best time of day to get the light you need and where does your build need to go to maximise the light and your working practice?
2.Access to water. Do you need wet space? How can that be achieved?
3. Storage space. Will the internal dimensions give you enough or do you need to add storage externally?
4.Electrics -Lights/heating/Wi-Fi etc. What do you need?
5.Access for you and customers. Paths or stairs need to be worked out early.
Having a plan of the internal layout at this stage is crucial. It may change a bit but if you want your lights in the right place you need to get your electrical sources in the right place. Remember your concept as we discussed in Part 1. It is only with hindsight that I realise why my husband kept asking me so many questions. He needed to liaise with the contractor and had to be pretty certain what I needed before he spoke to them!
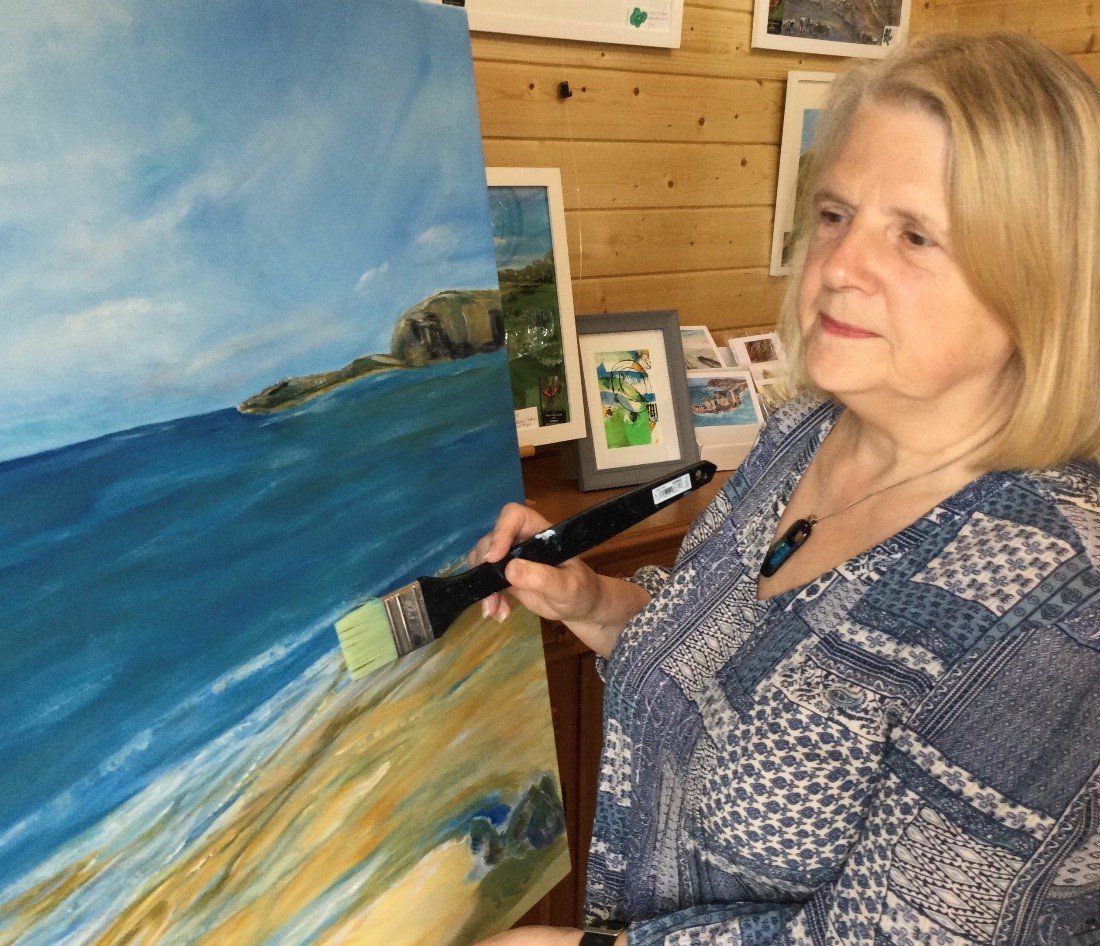
We chose Log Cabins Scotland Limited as our preferred supplier and knew their reputation and established a relationship with them from the outset. You know when a supplier is listening well and also when they are advising you to think about decisions. I thoroughly enjoyed choosing the colour for the studio quite early on and the excitement of seeing that colour going on to the external walls later was a highlight for me whereas my husband was deep in discussion about windows, doors, roofing etc.....and how the contractor managed the work.
My husband dealt with the sizes-thank goodness- I would have been terrified to make a mistake, but the company came and did a recce of the site and double checked everything before ordering the materials from their suppliers. I stood a bit on the side lines as the workers and hubby discussed foundations and where the studio would be placed for maximum light and how to get the maximum space internally. The contractors knew all the regulations for height and building regulations so we could rely on them to keep us right.
The decisions I was most involved with were these:
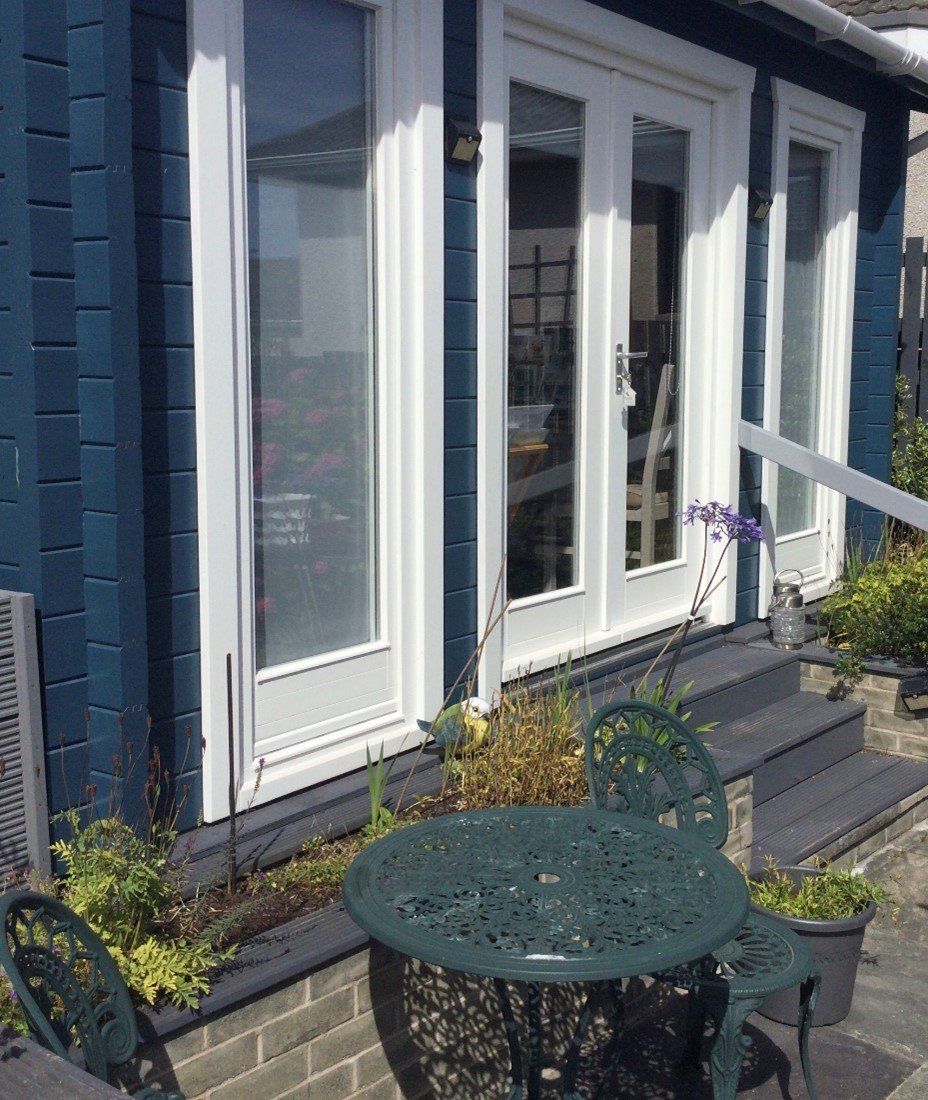
#Facing the cabin South to get maximum light especially in the afternoons when I would be working most. Taking out a little used decking area was the best plan.
#No need for water since we had external water and were also very close to the house with a second sink in kitchen already
#No need for personal loo either. Saved on drainage/plumbing
#Sizes and placing of windows and door for maximum light/easy access
#Heating and air-conditioning to use the studio all year.
#Storage to be free standing internally for flexibility (- no space to add anything outside)
#How to ensure the garden space still worked for us -we did not want to redo paving etc since it had just been done the year before.
My husband covered guttering/electrics which were embedded into the walls/preparing for foundations/clearing space/timescales/and anything else the contractor needed at that stage.
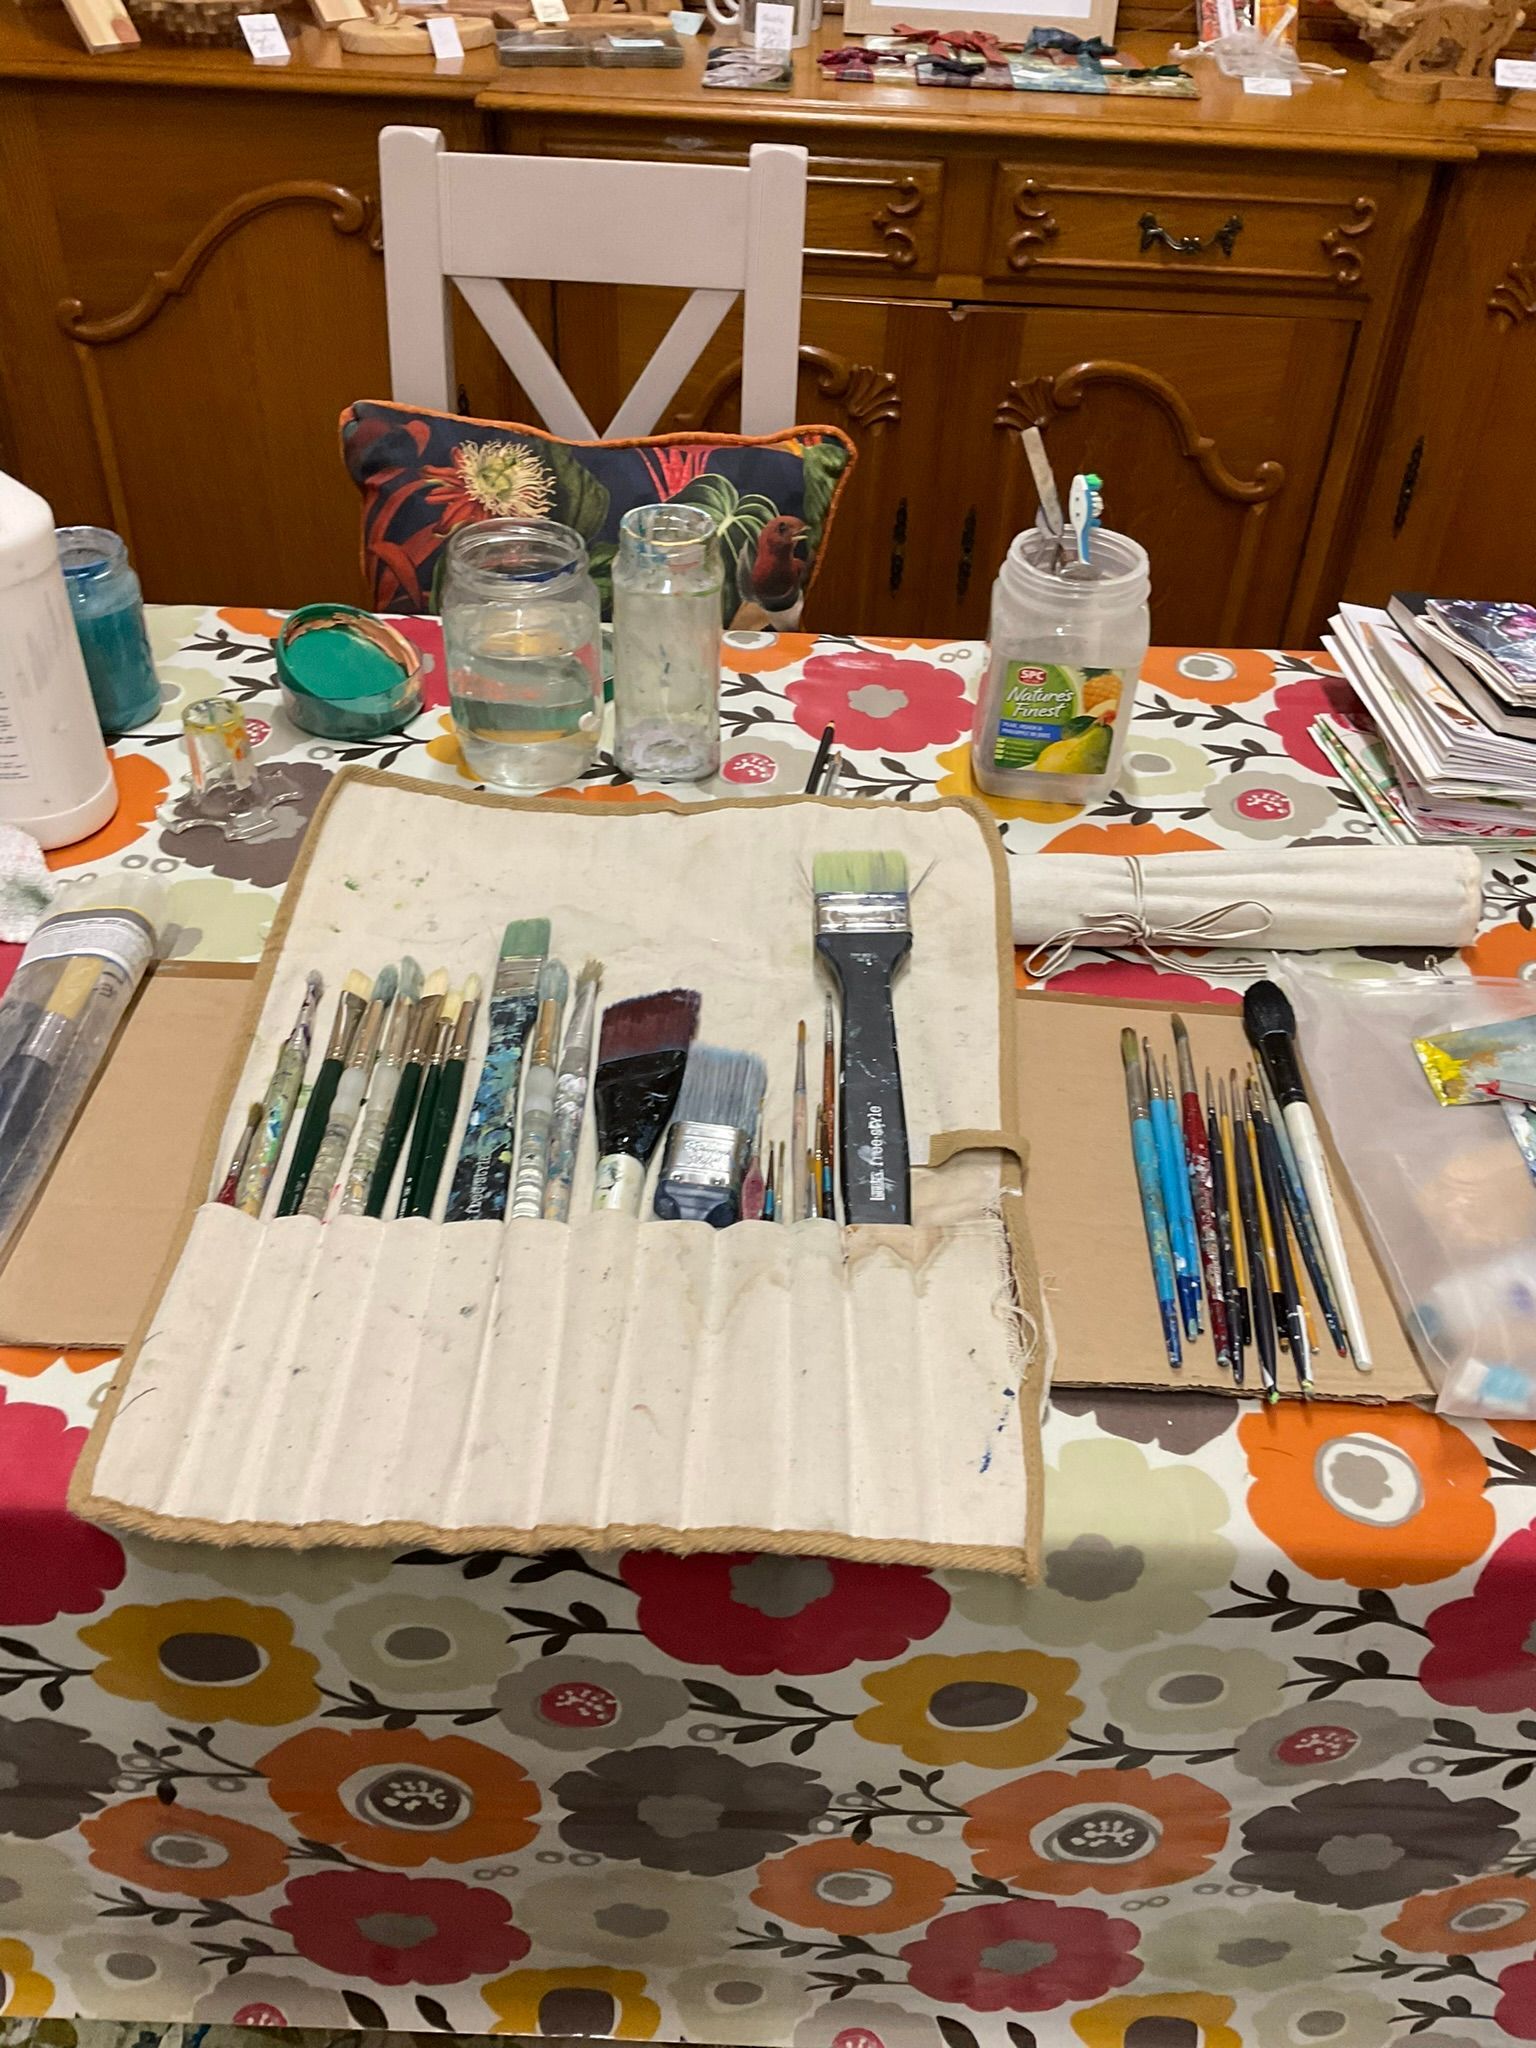
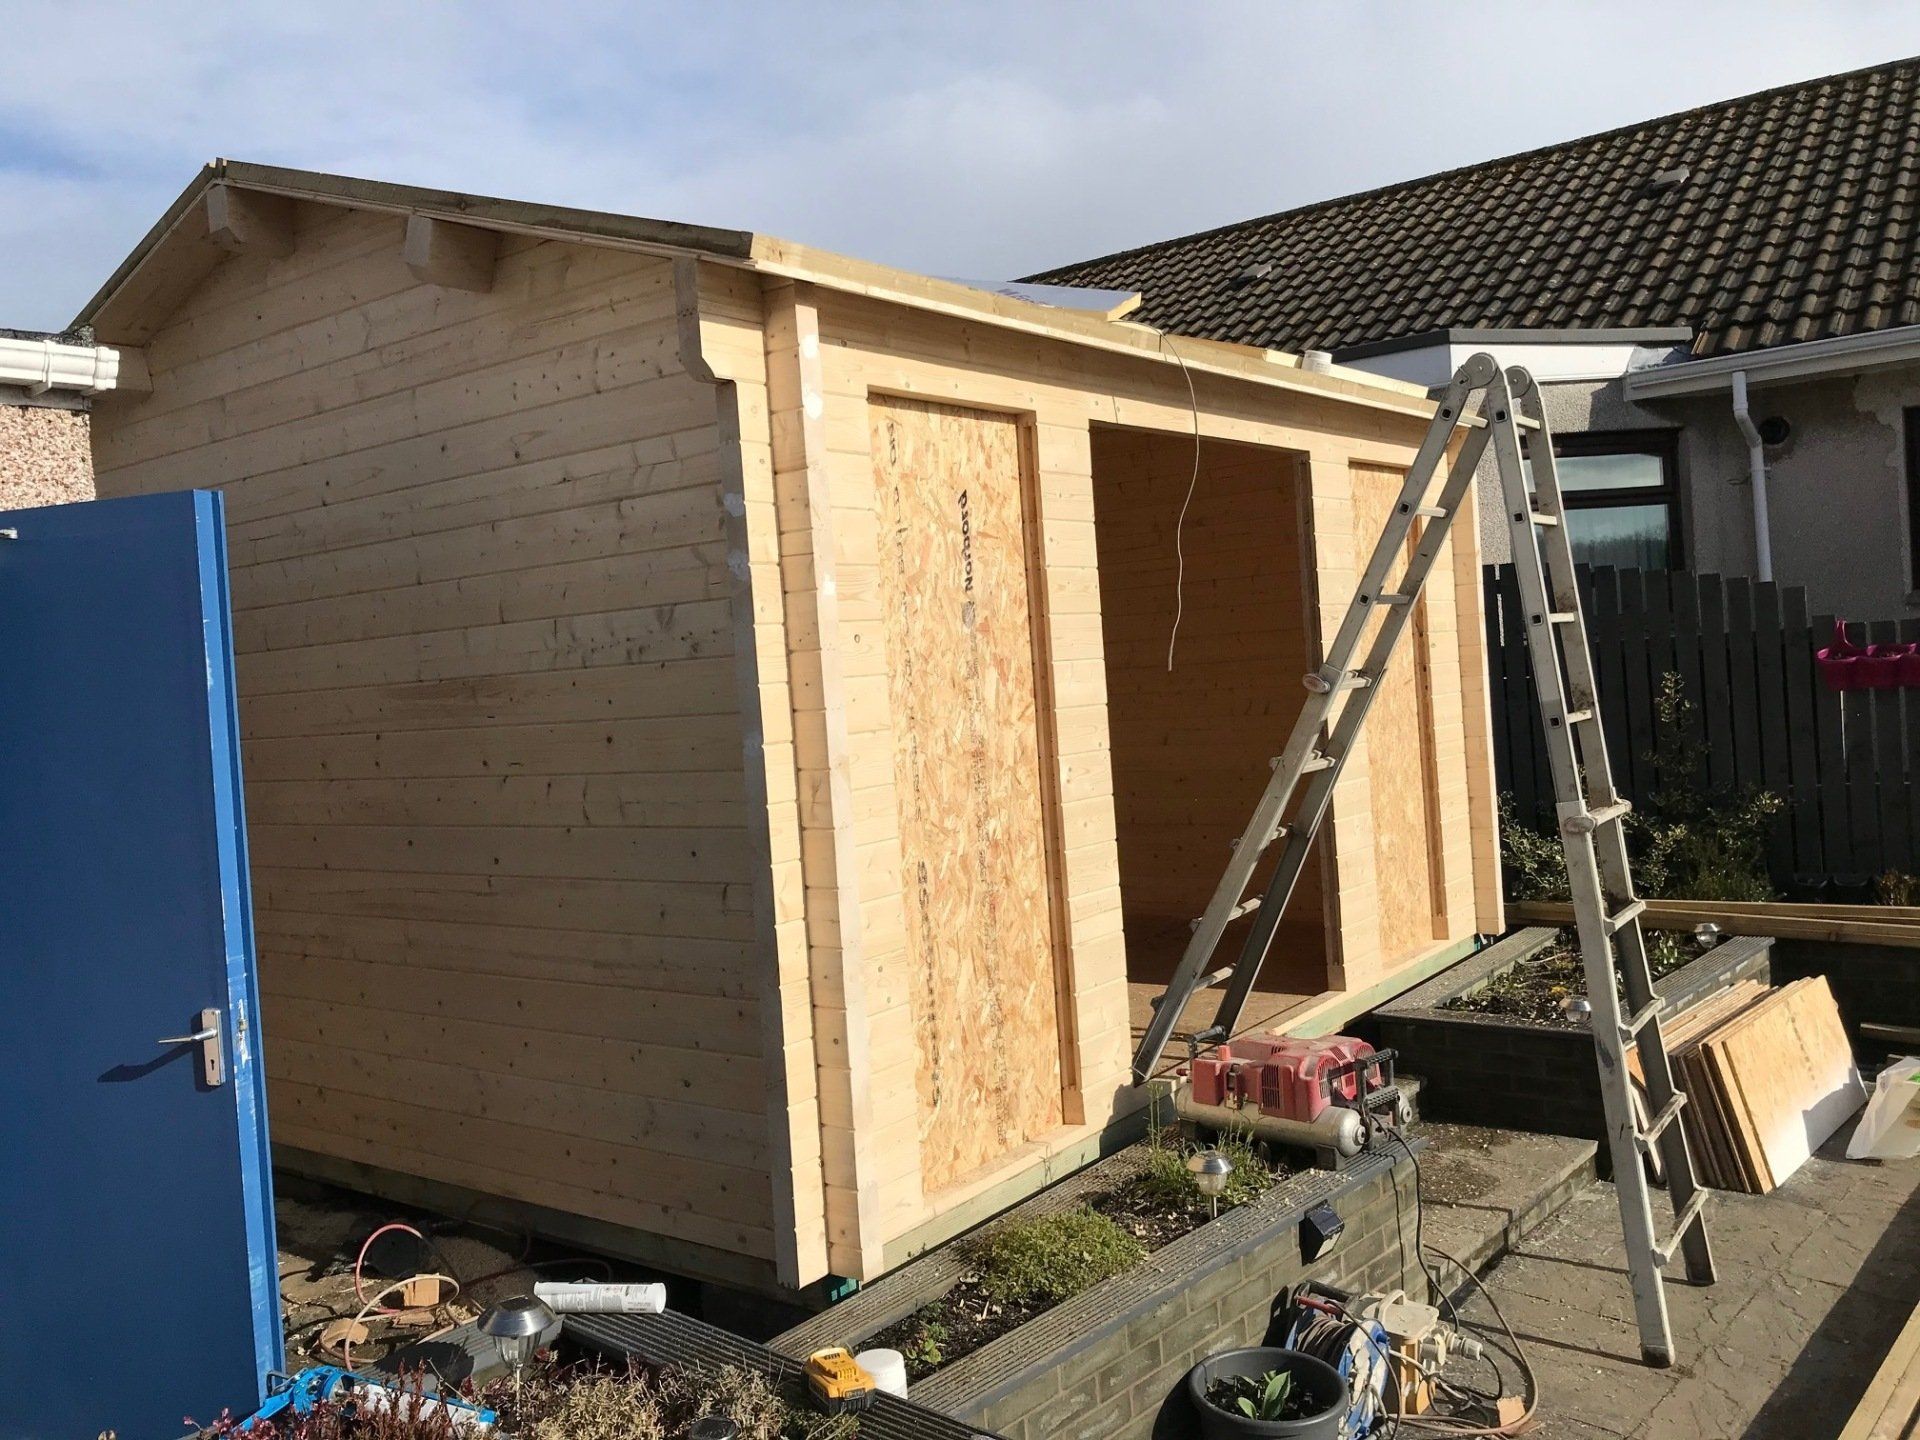
The weather was sunny and mild in February 2020 and the external work was completed in a week after the foundations were completed. The work was fascinating to watch, and I was pleased to see such quick progress with no holdups. It was only when the walls were up and the roof on that I really could imagine how the space could work and began to adjust some of my earlier thinking. The space needed to be as flexible as possible and the idea of dividing the space into shop and production felt too claustrophobic-it was too small a space. No dividing walls or free-standing dividers. I wanted it open. Folks would see the messy side as well as the display side. I started to really think about the storage and the practicalities of working in the space. In the meantime, I got all the art supplies cleared out and organised because this was going to happen quickly. Somehow it was not a chore this time-I would have it all in one place, my art space!
Watch out for the next instalment Part 3 Creating the Internal Space
Share on social media